Digitizing Your Collection
Welcome back! We are on step three of our journey to get our family collections organized, digitized, and accessible to our friends and family. Step number one was to organize and arrange our documents to best reflect the collection and those using it. Step number two was describing the collections to get them ready for upload to Permanent.org. Now, onto step number three: It is finally time to digitize those documents.
Digitizing Your Collection
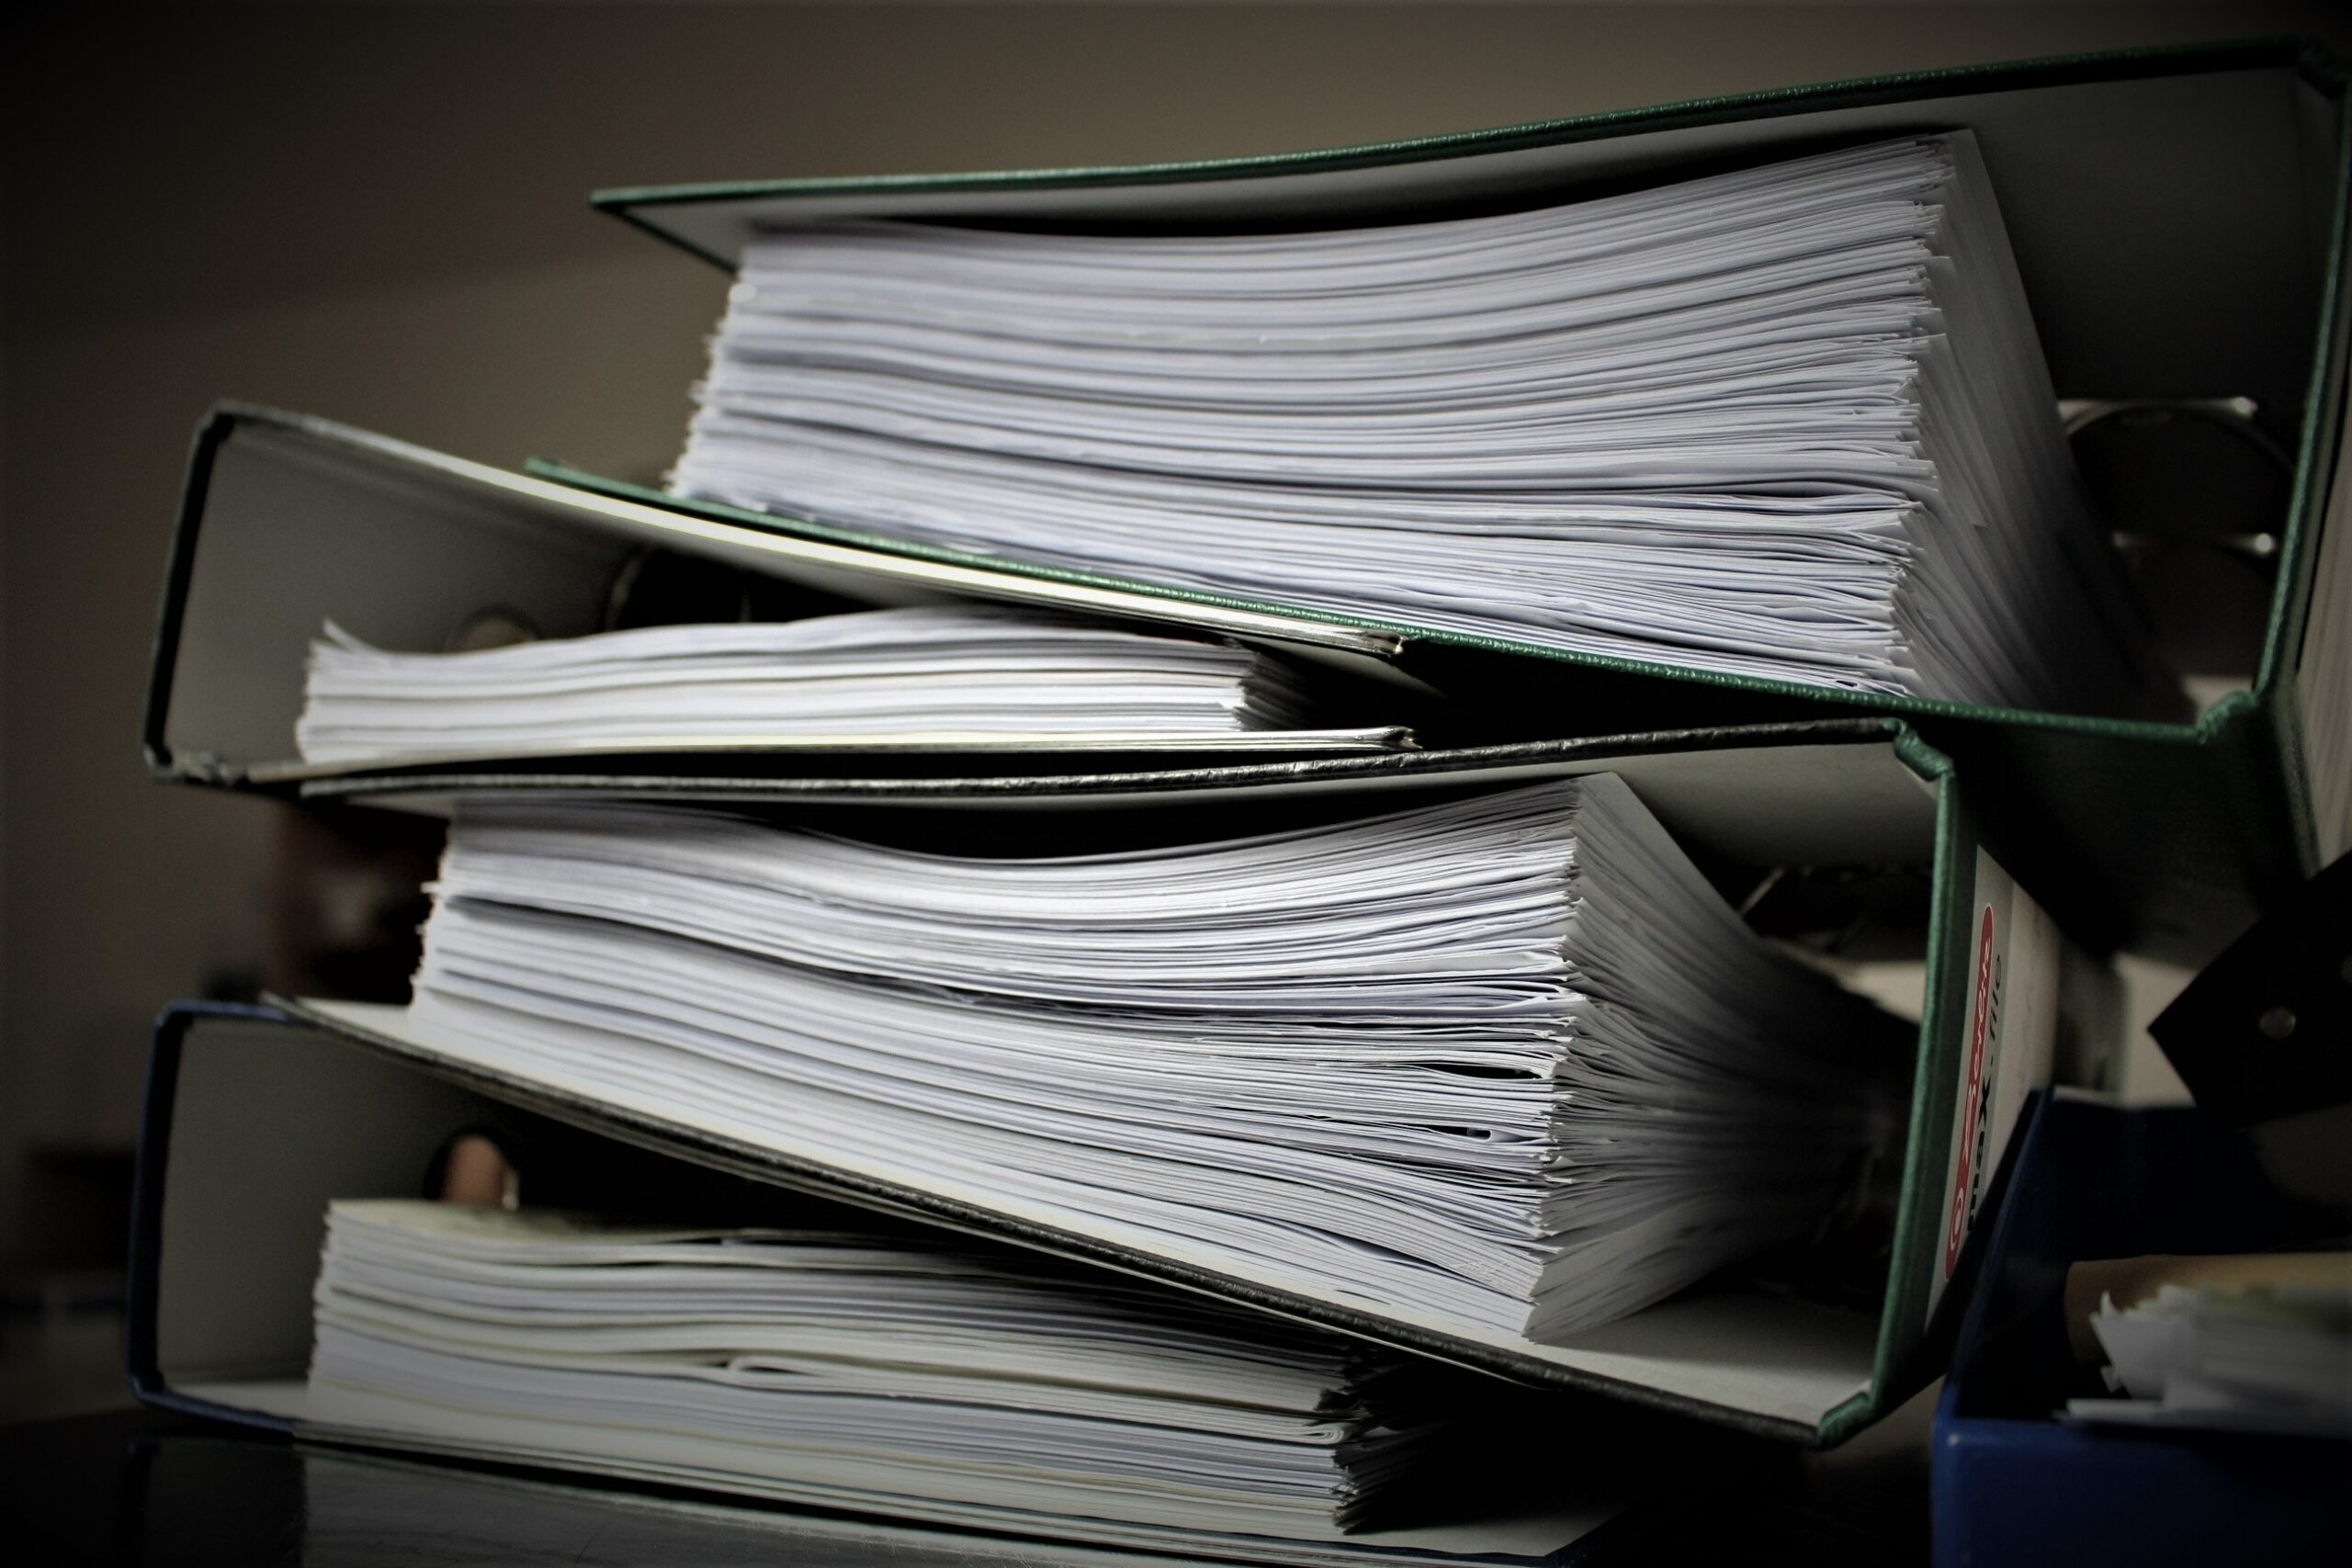
When it comes to digitizing your collection, you should think about whether everything is worth being digitized and available for family or the public. Some materials might be worthy to keep, but not something everyone will want to see, such as receipts and various financial documents. This is especially important if you want to make materials available quickly. You can always go back and digitize the other materials later.
The methods of digitization will depend on the quality of the material being digitized. More delicate materials will need extra care. Today there are two types of scanners for the everyday person: a flatbed scanner, and a portable scanner. I personally have both. I have an Epson Perfection V370 Photo, which has the capabilities to scan slides and negatives along with documents and images. Using a flatbed scanner is slow, however, because the material remains stationary, and will be best suited for fragile documents that might be damaged with a portable scanner where the document moves through the scanner. In addition, I have a Brother DSmobile 920dw, portable scanner. This scanner is faster and good for stable documents that can withstand moving through a scanner.
When scanning, you want to think about the resolution and the bit depth of the scan. Resolution is the amount of detail captured in the scan and bit depth is the number of pixels captured. Using the standard resolution and bit depth numbers will set you up to have high-quality scans where you will be able to see as much detail in your documents as possible.
For documents, it is recommended to have a resolution between 300 to 400 dpi and 24-bit color (see image 1). Documents should be scanned as PDFs, the recommended file type. As scanning the documents has the potential to damage them due to the light from the scanner, it is ideal to scan your document only once, which is why you want it at the highest quality scanThen, use that digital copy, or the preservation copy, to make derivative digital copies, instead of rescanning at a lower resolution. With this I recommend using conversion software, to convert the PDF file into image file formats such as TIFF and JPG. I use a software called PDF to JPG, to make my PDF files into image files (see image 2). I do this because some systems will only allow an image file, such as JPG, and do not accept PDF files (such as Flickr, and the Internet Archive).
Remember to scan all the pages of a document, front and back.

Image 1: Recommended settings for digitizing documents.

Image 2: Recommended setting for making PDF files into image files.
Naming Your Files
When naming your files, it will be similar to how we labeled our folders. Ask yourself, what is the document, who is the document related to, and when was the document created? For example: “Birthday Card for Alfred Thum from Bud, Vera, Joel, Myra, Michael, and Keith DeSha, 1964-11-09”. This type of file name will provide you the most information when browsing your digital items and help you to find what you are looking for when using the search function. If you do not like the length of the file name you could create a type of code, such as “RT001.F001.D001”. For myself, RT001 would represent the Richard Thum Document Collection, F001 would be folder 1, and D001 would be the first document in the folder. This filename gives you context of where the document is located in your collection but does not help with browsing or searching for a specific type of document. When naming the image file of your documents, take your typical file name and add a page number if the document has more than one page. Example: “Birthday Card for Alfred Thum from Bud, Vera, Joel, Myra, Michael, and Keith DeSha, 1964-11-09_page 3 of 4”.
Organizing Your Digital Files
Now how do you organize all the files that you have digitized? Remember all the work we did to organize and arrange the physical items into series, sub-series, and folder order? You can now just replicate all that work in the digital world.
When using Permanent.org, this would create a folder hierarchy (see images 3-5):
- Collection Folder
- Series Folder
- Sub-Series Folder (Optional)
- Folder
- Digital Item
- Folder
- Sub-Series Folder (Optional)
- Series Folder

Image 3: Series Folders

Image 4: the Folders within a series

Image 5: The individual digital files within the folder.
Now you are ready to digitize your documents and upload those digital files to Permanent.org, but we are not quite done with the physical documents just yet. The next blog in the series will help guide you in care and storage of your physical documents.
How to Describe your Digital Materials on Permanent.org
We have gone through all the steps to creating a digital collection, we organized, we described, we digitized, but now how do we connect our digital objects to the descriptions we provided? Here’s how I make the connection on Permanent.org.
Let’s begin with our Collection level of description. Starting with the folder, I title it with the Reference Code and Title. In the Description, I will put the Creators, Language, Administrative Biographical History, Scope and Content, and Custodial History. In the tags, I would put my access points/subject terms/tags. The start date would have when the collection began, and the end date would have when the collection ended.
Example: https://www.permanent.org/p/archive/00h3-0000/00h3-0756/574563
For a Series or Sub-Series Folder, I would put in the title either “series” or “sub-series”, the number of that series or sub-series, plus the name of that series and sub-series. In the Description, I would put the Scope and Content, and System of Arrangement. The tags and dates would be the same as it would be for the collection level.
Example: https://www.permanent.org/p/archive/00h3-0000/00h3-0757/574564
When it’s the folder level, I just label the folder with the folder title.
For the Item level, the title receives the document title. The description will have the creator/author, language, and description. The tags and dates would be the same as the collection and series folders.
Next PostFamilyHistory with Permanent.org Part 4 of 4: Caring for the Physical Documents
Previous PostAnnouncing the Beta Release of Our Mobile Apps for iOS and Android
Subscribe
Login
0 Comments
Archives
Categories
- Byte for Byte (5)
- Community (29)
- Control (5)
- Events (3)
- Everyone's An Archivist (10)
- FamilySearch (2)
- Holidays (6)
- Legacy Lab (3)
- Metadata (2)
- Milestones (4)
- Mobile Apps (2)
- Our Features (22)
- Our Team (9)
- Partnerships (7)
- Preservation (38)
- Publish (6)
- Reflections (10)
- Technology (12)
- Uncategorized (7)
- When Disaster Strikes (3)
Tags
- AAPI (3)
- AAPI Heritage (3)
- Accessability (1)
- Accessibility (2)
- Activity (2)
- African American (11)
- African American History (1)
- African American History and Culture Museum (1)
- AI (4)
- ALA (1)
- ALA Conference (1)
- ALAAC21 (1)
- Amanda Gorman (1)
- Amberly Russell (1)
- American History (5)
- American Indians in Texas (1)
- American Library Association (1)
- Ancestors (6)
- Ancestral Healing (1)
- Ancestry (5)
- Antebellum Era (1)
- Architectural History (1)
- Architecture (1)
- Archival (2)
- Archive.org (1)
- Archives (6)
- Archiving (1)
- Archivist (1)
- Artificial Intelligence (1)
- Baltimore (1)
- Basics (4)
- Beginners (1)
- Beginning (4)
- Black (1)
- Black History (11)
- Black History Month (8)
- Book Talk (1)
- Boston Tea Party (1)
- Brick Walls (3)
- Bryson Williams (1)
- byte4byte (8)
- Caribbean (1)
- Cemetary (1)
- Cemeteries (1)
- Cemetery (1)
- Census (2)
- Children (2)
- Children's Activity (1)
- Chinese (2)
- Citations (1)
- City Directories (1)
- Civil War (4)
- collaboration (2)
- Community (1)
- Community Archive (2)
- Community Archiving (1)
- conference (2)
- Context (2)
- Cooking (2)
- Creative (4)
- Creativity (1)
- Cultural Competency (1)
- Cultural Heritage (2)
- Danny Trejo (1)
- data privacy (2)
- Database (1)
- David Copperfield (1)
- Death (2)
- Death Records (2)
- DEIA (1)
- Digital Accessibility (2)
- Digital Archiving (3)
- Digital Estate Planning (2)
- Digital Humanities (1)
- Digital Legacy (1)
- Digital Preservation (2)
- digitization (7)
- Digitizing (1)
- Disability (1)
- Discussion (2)
- Diversity (1)
- DIY (1)
- Downsizing (1)
- Education (1)
- elon musk (1)
- Emigration (2)
- endowment (1)
- Equity (1)
- Escape Room (1)
- Estate Planning (1)
- Etherpad (1)
- Excel (1)
- Facial Recognition (1)
- Family (2)
- Family Activity (1)
- Family Archive (2)
- Family history (54)
- family history month (1)
- Family Patterns (2)
- Family Photos (1)
- Family Reunion (1)
- Family Secrets (1)
- family stories (2)
- FamilyHistory (11)
- Fashion (2)
- Fashion History (1)
- Film Negatives (1)
- Find a Grave (1)
- FOIA (1)
- Food History (4)
- Foreign Records (1)
- Forgiveness (1)
- gallery (1)
- Games (1)
- genealogy (63)
- Gifting (1)
- GPS (1)
- grants (1)
- Graves (1)
- guest post (1)
- Handwriting (2)
- Hispanic Heritage (1)
- Historic American Buildings Survey (1)
- Historical Fashion (1)
- History (13)
- Holidays (2)
- Homes (1)
- Human Rights (1)
- Illness (1)
- Immigration (2)
- Inclusion (1)
- Indigenous (1)
- Indigenous Heritage Month (3)
- Indigenous History (3)
- Internet Archive (1)
- Interviewing (1)
- Jewish History (1)
- Jim Crow (1)
- Kids (4)
- Land (2)
- Latinx Heritage (1)
- Laws (2)
- Learning (1)
- Legacy Contact (1)
- Legacy Lab (1)
- Legacy Planning (2)
- Legal (2)
- Letters (1)
- lgbtq (2)
- lgbtq history (1)
- LGBTQIA (2)
- LGBTQIA History (1)
- Library of Congress (3)
- Literature (1)
- Local History (6)
- Maps (2)
- Marriage (1)
- mastodon (1)
- Megan Dolan (1)
- member spotlight (2)
- Member Success (1)
- Memoir (2)
- Memories (27)
- Memory (4)
- Memory Forward (1)
- Metadata (3)
- Metadata Working Group (1)
- Methodology (9)
- Mexico (2)
- Migration (2)
- military (5)
- Military History (4)
- Mission (1)
- mobile apps (2)
- Mysteries (1)
- NAHM (1)
- Native American (1)
- New Orleans (1)
- Newspapers (1)
- Novel Records (1)
- Obama (1)
- OCR (1)
- open source (4)
- Oral History (1)
- organization (2)
- Organize (1)
- Organizing (9)
- Orientation (1)
- Pandemic (1)
- Photo Managers Conference (2)
- Photo organizing (2)
- Photography (3)
- Photos (23)
- ponga (1)
- postcard archive (1)
- postcards (1)
- Preservation (23)
- Preservation Services (1)
- Preservation Week (1)
- Probate Records (1)
- Problem Solving (2)
- product updates (4)
- Professional Development (1)
- Project (1)
- ProjectKin (2)
- public archive (3)
- public archive spotlight (7)
- Public Gallery (1)
- Publish (1)
- Recipe (2)
- Recipes (1)
- Records (18)
- Religion (2)
- Repositories (3)
- Research (8)
- Research Trip (1)
- Resilience (1)
- Resources (1)
- Reunion (1)
- roadmap (1)
- Robert Friedman (3)
- RootsTech (4)
- RootsTech 2024 (4)
- Safety (1)
- Sanborn Maps (1)
- Savemetadata.org (1)
- Scanning (1)
- Scavenger Hunt (2)
- Search Techniques (1)
- Sharing (4)
- Social Clubs (1)
- Social History (6)
- Sociology (1)
- softwaredevelopment (1)
- softwareengineering (2)
- Sources (1)
- spotlight (3)
- staff spotlight (2)
- storage grant (1)
- Stories (18)
- StoryCorps (1)
- storytelling (12)
- Suffragettes (1)
- sustainability plan (2)
- sustainable organization (1)
- Tax Records (1)
- Taxes (1)
- technology (14)
- Thanksgiving (1)
- The Photo Managers (1)
- Timeline (1)
- Tools (7)
- traditions (4)
- Trans History (1)
- Transcribing (1)
- Translating (1)
- Translation (1)
- Trip (1)
- Truth (1)
- twitter (1)
- twittermigration (1)
- ui/ux (1)
- Veterans Day (2)
- Videos (1)
- Volunteering (1)
- webinar (1)
- Website (1)
- Websites (5)
- West Indies (1)
- wikipedia (1)
- Wills (1)
- Women (11)
- Women's History (1)
- Workshop (10)
- Writing (7)
- Writing Club (1)
- WW1 (1)